Are you looking to update and enhance the safety and add aesthetic appeal value of your stairs? One of the best ways to achieve this is by updating your staircase banister. In this blog post, we expect you’ll learn everything you need to know about installing a new staircase banister, from understanding its components and purpose to choosing the right materials and properly installing it, And some of the best examples to purchase. So let’s get started!
Key Takeaways
- Banisters provide support and aesthetic to stairs, with careful selection based on factors such as colour, material and design.
- Installing a banister requires measuring, planning & accurate installation of newel posts/handrails using the correct tools. Attaching spindles involves cutting at an angle & gluing/nailing in place.
- Choosing the right banister for your home should consider safety, design elements, materials used & budget while following code compliance guidelines.
What is a banister?

A banister, an integral part of any staircase, serves a dual purpose – providing support and security while complementing the overall aesthetic of your staircase. It consists of three main components:
- Banister rails: These run along the top of the staircase, providing a gripping surface for users.
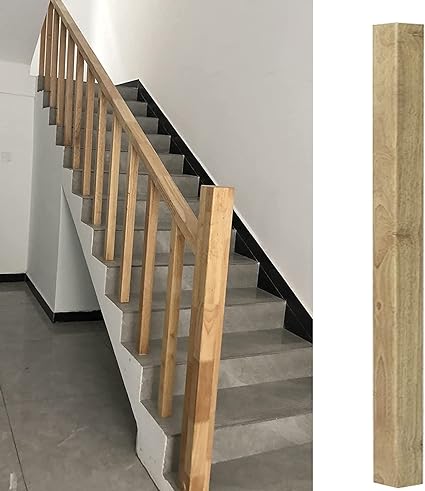
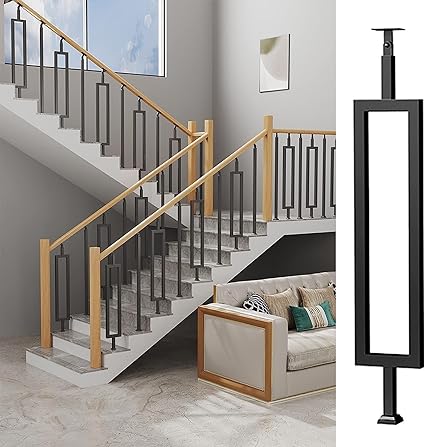
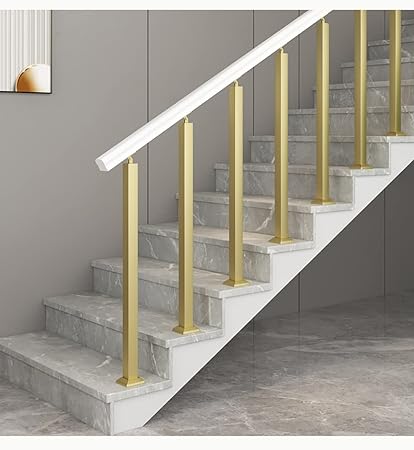
- Newel posts: These are the upright supports that secure the handrail and balustrade.
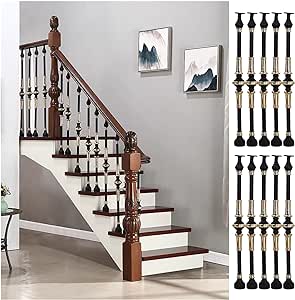
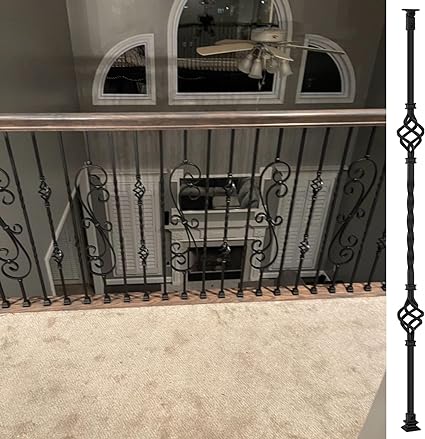
- Spindles: Also known as balusters, these are the vertical bars that connect the handrail to the baserail, adding safety and an aesthetic touch to your staircase.
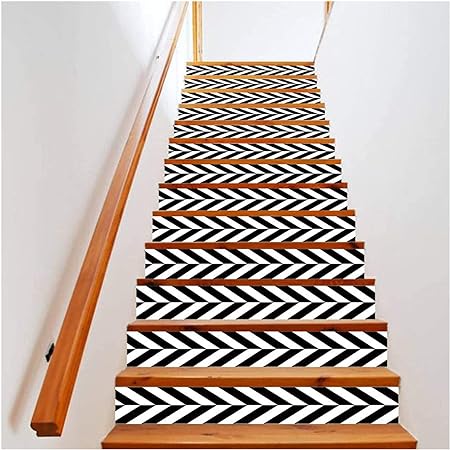
A new banister can breathe fresh life into your stairs, enhancing your home’s aesthetic and increasing its value. Choosing the right banister involves factors such as colour, material, and design to ensure a perfect fit for your staircase and home’s overall style. A painted banister, for example, can add a unique touch to transform your staircase design.
Installation Process: Banister on a Landing
The process of installing a banister on a landing or staircase directly contributes to the safety and stability of your home and staircase. This process involves three main steps: measuring and planning the staircase, installing newel posts and handrails, and attaching spindles.
We will now provide a review, a complete review and a complete review and detailed guide on each of these steps, in order so you know what to expect during a successful banister installation.
Measuring and Planning
Success in banister installation hinges on accurate measurements. To begin, gather the necessary tools, including:
- Center-finder tool
- Pencil
- Tape measure
- Level
- Drill
- Saw
- Hammer
- Safety equipment
Measure the height and placement of newel posts and painted handrails and determine the appropriate spacing and dimensions for spindle placement. Online calculators can be a great help in this process.
Keep in mind that proper measuring and planning can save you money, time and money in the long run. Ensuring that all components of your banister are correctly measured and planned will help you make money, take time, make money, avoid costly mistakes and ensure a secure and stable banister upon complete installation.
Installing Newel Posts and Handrails
The secure and stable structure of your banister largely depends on the correct installation of newel posts and handrails, which are its main supports. Here are the steps to follow for installation:
- Install newel posts at the top and/or bottom of the balustrade, and securely fasten them to the string or floor using screws or mounting plates.
- Fit treads and winders around the newel posts.
- Glue risers in place and fasten them to the treads with screws.
To install the staircase handrail head part onto the newel posts, gather the necessary stair installation tools, handrail brackets, rosettes, drill and drill bits, box end wrench, construction adhesive, connectors, and measuring tools. Avoid common staircase installation mistakes, such as incorrect fitting of the handrail head part to the newel post, failing to dry fit the newel post before final staircase installation, and inappropriate use of adhesive and pins in order to secure the newel post in place.
Attaching Spindles
Adding support, safety, and aesthetic appeal to your banister, spindles play a vital role. To attach spindles to the handrail and baserail, follow these steps:
- First, remove existing spindles using a lever and cut them at the recommended angle of 37.5°.
- Then, glue the spindles and nail them into grooves approximately 6mm deep.
- Lastly, cut fillets to size and glue and nail them in place.
To ensure the stability of your spindles, follow these steps:
- Use 18 or 20 gauge nails for toe-nailing.
- Pre-drill and pin the spindles.
- Use Tightbond II or polyurethane wood glue to attach the spindles to the staircase banister.
Choosing the Right Material for Your Banister
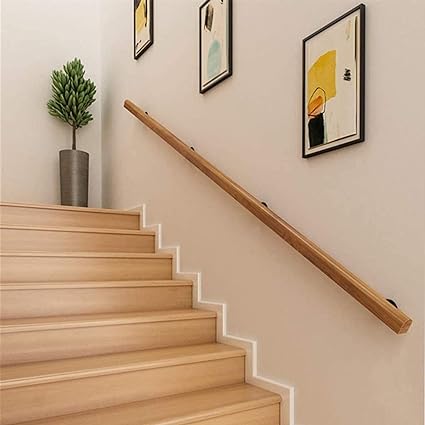
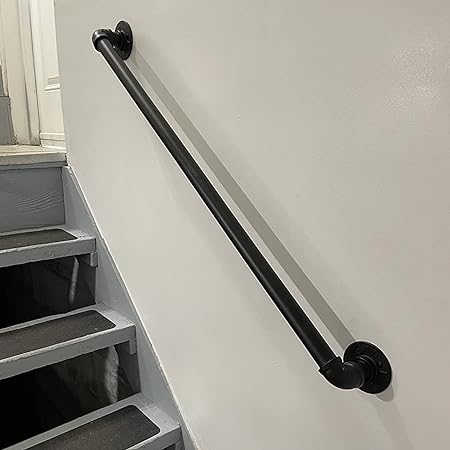
The decision of choosing the right material for your banister is significant and relies on various factors including your budget, design preferences, and maintenance needs. Wood and metal are the most common materials used for banister rails. Softwoods like pine and hardwoods like oak are popular choices, with softwood and pine offering various pros and hardwood and pine with various cons depending on the nature of their specific properties.
For example, Hemlock, a softwood, offers a knot-free timber with an even, clear grain, making it ideal for staining and varnishing in order to add something to create a beautiful finish. On the complete other hand, oak is a hardwood with a medium to coarse grain, making it a viable option ideal for an aesthetically pleasing staircase remodel project. The cost and price of each material varies depending on the type of material, the size of the banister, and the nature and complexity of the installation.
Painting and Finishing Your Banister
Apart from enhancing its appearance, painting and finishing your banister also offers protection against wear and tear. To prepare your banister for painting, safeguard the area, scrub the banister surface, fill and sand the banister, and apply a primer. For the best results, use gloss paint or enamel paint with a semi-gloss or satin finish, such as Farrow and Ball Full Gloss, Johnstone’s Aqua Guard, Dulux Diamond, or Benjamin Moore Advance.
Typically, banister paint requires a drying period of about 6-8 hours before a second coat can be applied. For optimal results, avoid contact with the railing for at least 30 days in order to allow the paint to cure. The key to achieving a professional look lies in proper preparation and technique.
Customizing Your Staircase: Additional Features and Options
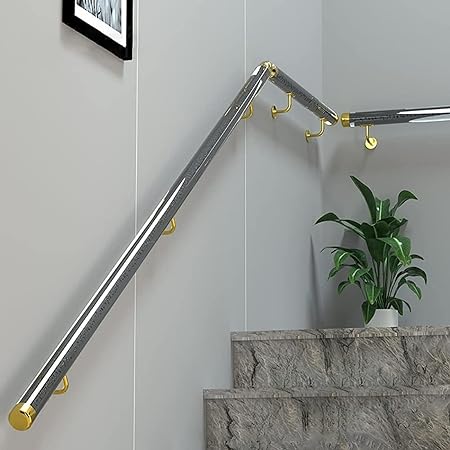
The safety, convenience, and aesthetic appeal that add the value of your staircase at home can transform by customizing it with suitable additional features. Installing an additional banister to add to the Dallas staircase, for example, provides increased safety and convenience value, particularly in the complete absence of a wall adjacent to the staircase.
Other options for customizing your home and staircase include:
- Adding stair runners
- Using dark paint
- Creating under-the-stairs storage
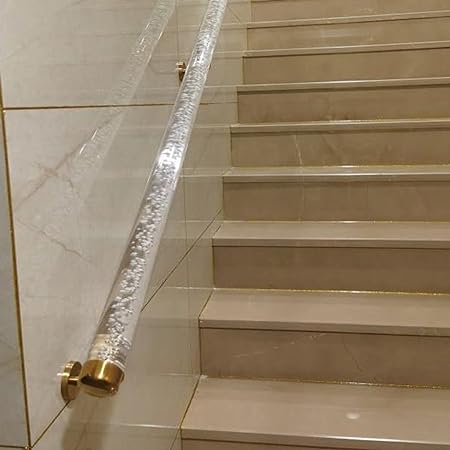
- Selecting from a variety of materials such as solid stone, pine, hardwood, concrete, wood, steel, and stainless steel
- Installing riser bars, designed to reduce the gap between treads to less than 10cm, to meet UK building regulations.
Tips for Choosing the Ideal Banister for Your Home
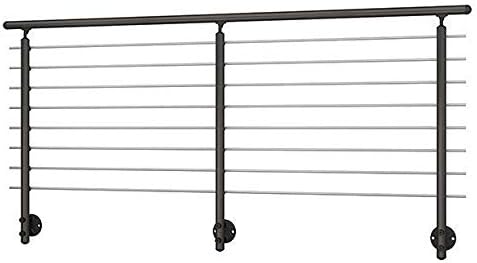
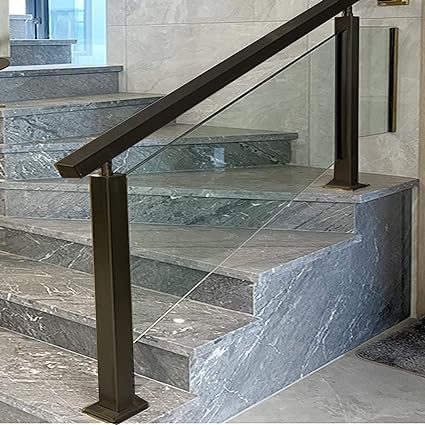
The selection of a perfect banister for your home requires careful consideration of factors like safety, design, materials, varnished, softwood and budget. When selecting a banister, prioritize durability, sturdiness, a suitable handrail, vertical spindles or rails, safety glass, and compliance with building regulations. Additionally, ensure that the design complements the overall style and aesthetic of your house.
When selecting the ideal top material for your banister, consider factors such as:
- Durability
- Cost
- Design
- Maintenance
- Code compliance
- Climate
Research and planning can help you transform, update, review, transform, update, review and update your decision-making for your needs and ensure that your banister not only looks great but also provides the necessary support. It’s important to note that careful consideration of materials and design is crucial in this process.
Summary
In conclusion, updating your banister in 2023 can significantly enhance the safety, stability, and aesthetic appeal of your staircase. This blog post has provided valuable information on understanding banisters, installation processes, material choices, painting and finishing techniques, Amazon product recommendations, customization options, cost considerations, and tips for selecting the ideal banister for your home. With proper research and planning, you can successfully complete your banister project and enjoy a safer, more beautiful staircase for years to come.
Frequently Asked Questions
What is a banister vs railing?
A banister is a handrail which is supported by balusters, creating a free-standing structure. It is commonly used in staircases and stairs and, together with the balusters, forms a balustrade. Railing, in stairs however, is typically mounted directly to the wall.
Why is it called a banister?
The name ‘Banister’ comes from ‘Baluster’, which in turn links to the wild pomegranate, also known as balaustion. The resemblance nature of the railing to the flower of the wild pomegranate is why it was given this name.
What are the main components of a banister?
A banister typically consists of a handrail, newel posts, and spindles which can be crafted from a variety of materials such as wood or metal.
How long does it take to install a banister on a landing?
On average, it will take 2-3 hours to install a banister on the stairs or a landing. However note, the time may vary depending on the complexity and nature of the project.
What materials are available for banister rails?
Wood. pine and metal are viable options for banister rails, allowing homeowners to choose the style and material that best suits their home’s needs.
We hope you have enjoyed our post and you have found what you need to purchase to improve your staircase. check out our home decor page for more home improvement ideas.